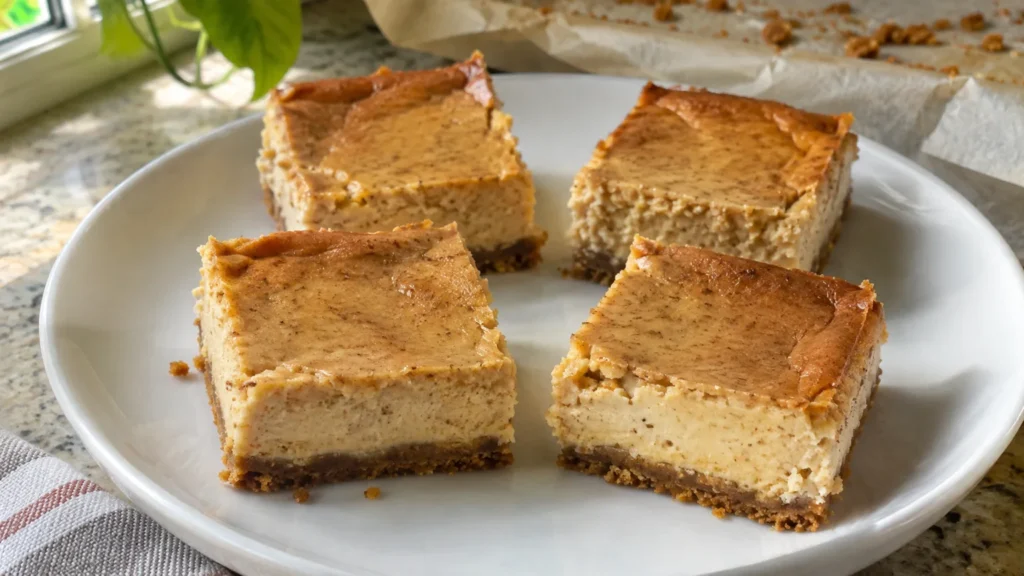
These gingerbread cheesecake bars combine a gingersnap crust with a spiced Greek yogurt and cream cheese filling. Molasses, ginger and cinnamon give them holiday flavor without adding a thick frosting. The eight-inch pan makes nine generous dessert squares, and the bars need a full chill before they are ready to cut.
Table of Contents
Why gingerbread cheesecake bars work
The cookie crust adds a crisp, spicy base, while reduced-fat cream cheese gives the filling some body. Greek yogurt contributes tang and protein. Eggs help the baked filling set, and a small amount of cornstarch helps it hold together after chilling. Molasses brings the deeper flavor people expect from gingerbread.
These bars are lighter in texture than a dense bakery cheesecake, but they are still dessert. The cookie crust, sugar and molasses are part of the recipe and the nutrition estimate. There is no claim that they are sugar-free or low-carb. A clean square depends on cooling and chilling, not simply adding more baking time.
Ingredient choices and substitutions
Use plain thick Greek yogurt and a softened block of Neufchatel. Whipped cream cheese in a tub has a different volume and texture. If the cheese is very cold, the filling can keep small lumps even after mixing. Let it soften only as long as needed, keeping the overall time for perishable ingredients out of refrigeration under two hours.
Choose ordinary molasses rather than blackstrap, which has a stronger, sometimes bitter flavor. Gingersnap brands vary in spice and sweetness. Weigh the crumbs if possible; loosely filled cups can hold quite different amounts. Graham crackers can make a milder crust, but the bars will lose some gingerbread flavor and the nutrition changes.
Baking gingerbread cheesecake bars
Press the crumb mixture firmly and evenly into the lined pan so the corners do not crumble away when cut. Baking the crust first helps it hold its shape under the filling. Mix the eggs on low speed and stop when they are incorporated. Whipping in lots of air can encourage puffing and cracks.
Use a metal pan at least two inches deep and leave parchment handles for lifting. Check the center temperature as well as the slight jiggle. Egg-based filling should reach 160°F; safe cooking temperature guidance provides the general egg-dish target. The oven times are planning estimates, and this recipe has not been kitchen-tested. A few surface cracks do not need a covering of extra sugar.
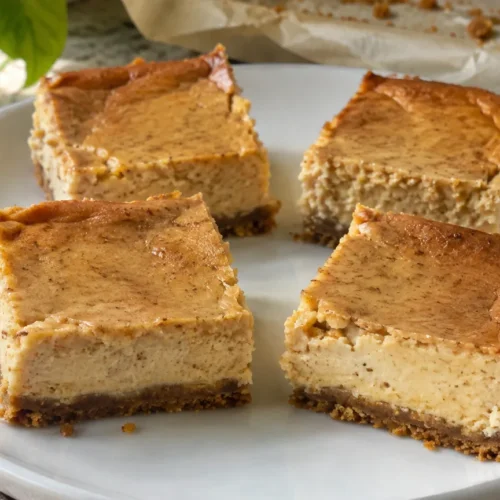
Gingerbread Cheesecake Bars
Ingredients
- 1 1/2 cups gingersnap cookie crumbs about 5 1/4 oz; finely crushed
- 3 tbsp unsalted butter melted
- 8 oz Neufchatel cheese softened
- 3 cups plain nonfat Greek yogurt
- 3 large eggs
- 1/3 cup granulated sugar
- 2 tbsp molasses not blackstrap
- 2 tbsp cornstarch
- 2 tsp ground ginger
- 1 tsp ground cinnamon
- 1/4 tsp ground cloves
- 1 tsp vanilla extract
Instructions
- Heat oven to 325°F. Line an 8-inch square metal pan at least 2 inches deep with parchment, leaving handles. Mix cookie crumbs with melted butter and press firmly into the bottom. Bake 10 minutes, then set aside.
- Beat softened Neufchatel with sugar until smooth. Mix in yogurt, molasses, cornstarch, ginger, cinnamon, cloves and vanilla. Add eggs one at a time on low speed, mixing only until incorporated. Do not taste batter containing raw eggs.
- Pour over the warm crust. Bake about 40–50 minutes, until edges are set, the center has only a slight jiggle and the center reaches at least 160°F. Check with a clean thermometer; do not rely only on color.
- Cool on a rack for about 45–60 minutes, then refrigerate within 2 hours of leaving the oven. Chill at least 4 hours at 40°F or below before lifting out and cutting into 9 equal squares. Cover once cool.
- Keep refrigerated and use within 3–4 days. Serve cold. Limit time out of refrigeration to 2 hours, or 1 hour above 90°F.
Notes
Cooling, chilling and storage
Let the pan cool on a rack briefly, then refrigerate within two hours of coming out of the oven. Do not leave it on the counter until bedtime to cool completely. Chill at least four hours before slicing. Overnight chilling is convenient for a holiday dessert and usually makes portioning easier.
Lift out using the parchment and cut with a clean knife, wiping it between cuts. Store covered at 40°F or below and use within three to four days. For longer storage, freeze individual chilled squares and thaw in the refrigerator; texture may become a little softer. Our meal-prep guide has more ideas for organizing refrigerator space before a busy meal.
Serving and nutrition guidance
Serve cold from the refrigerator with coffee or tea. If you add whipped cream, berries or extra cookie crumbs, count those separately. The card uses nine large squares; sixteen smaller squares are fine for a dessert buffet, but each one has a smaller share of the batch. Cut deliberately rather than guessing after the first few pieces.
Keep a few bars on a small platter and refill from the refrigerator. Limit room-temperature serving to two hours, or one hour above 90°F. The estimate uses generic cookie and dairy profiles; see our nutrition-estimate guide. The original featured image is AI-generated, not an owner-taken photograph or evidence of personal kitchen testing.